
This article pertains to all employees in Canada and the United States.
In this package you received 1 USB thumb drive. The computer does not require a network connection for this process. Our recommendation is to setup a work area with one monitor, keyboard and mouse. Stack all of your new cpu’s on top of each other and work through them in assembly line fashion one after the other. When you have completed imaging all of your computers please respond in the ticket and we will begin the process to replace your old cpu’s.
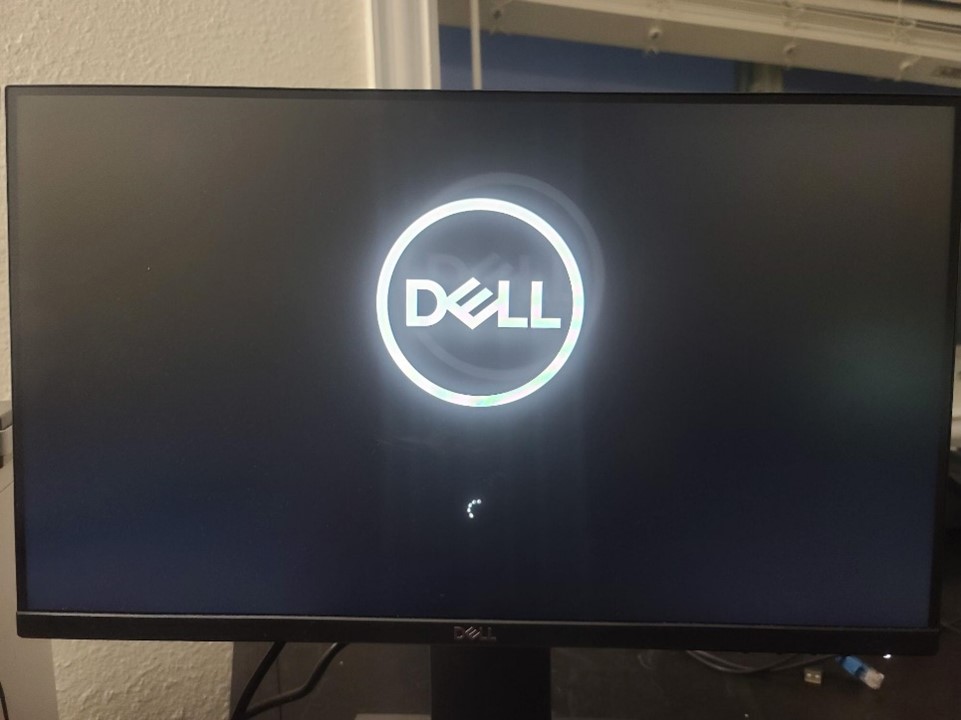
Power on the computer and when the Dell Circular Logo appears start hitting F12 on the keyboard until the next screen appears.
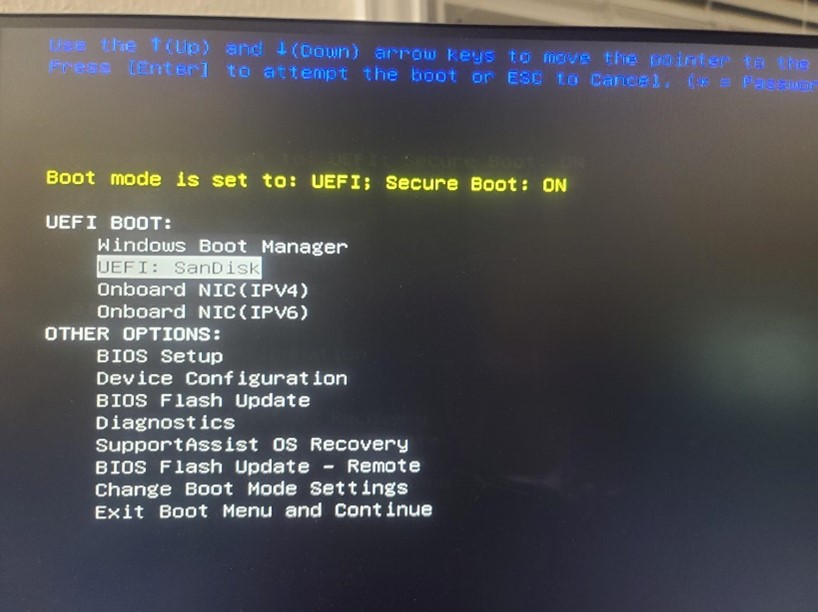
On this screen, use the down arrow on the keyboard to select the UEFI: USB entry and hit Enter
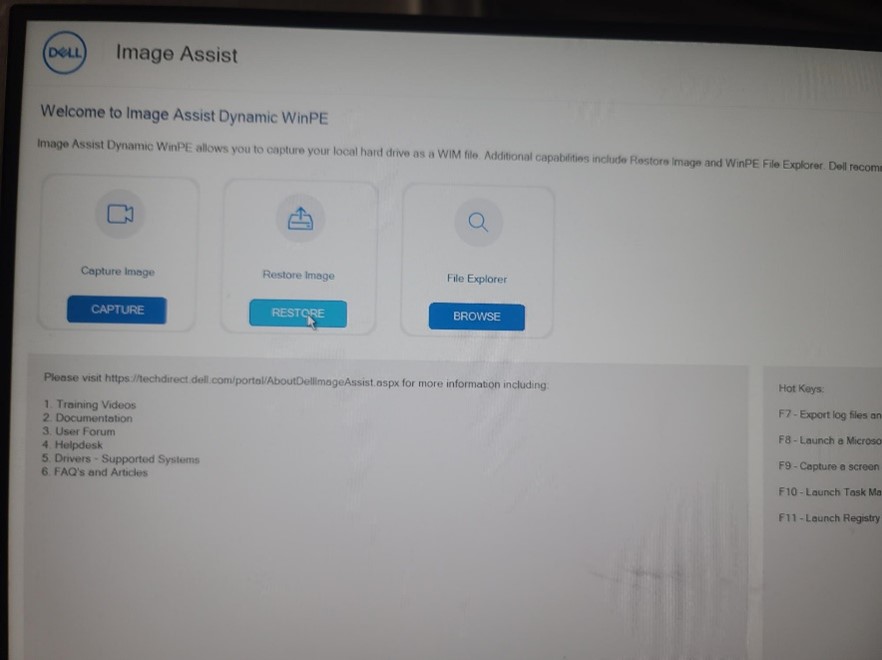
After a few minutes, the following screen will be displayed. Select the RESTORE button to move to the next screen.
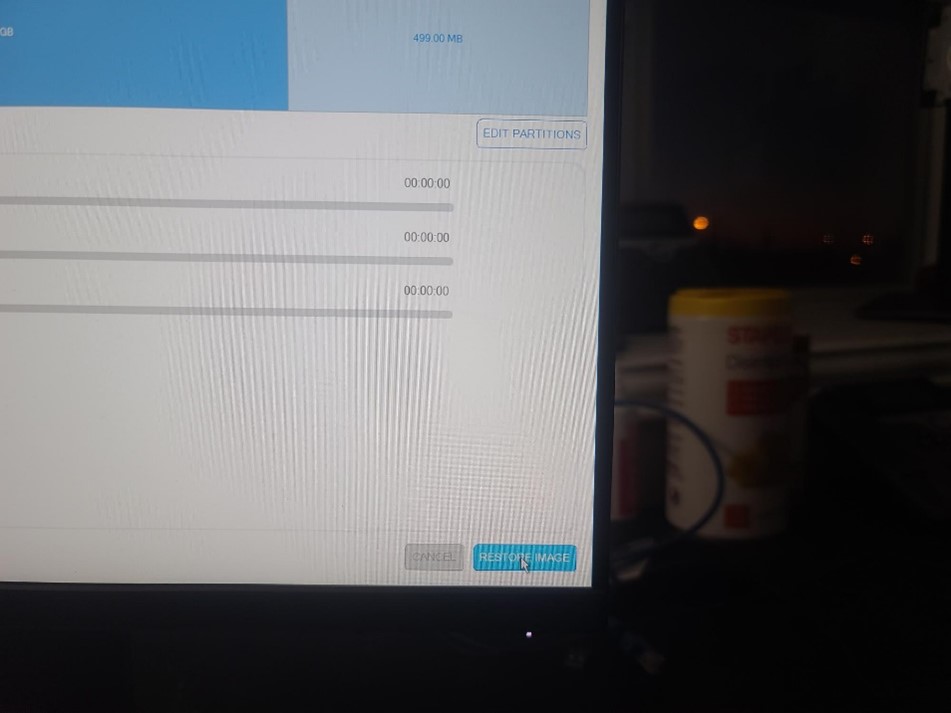
After clicking RESTORE, you will click the blue RESTORE IMAGE button in the bottom right corner.
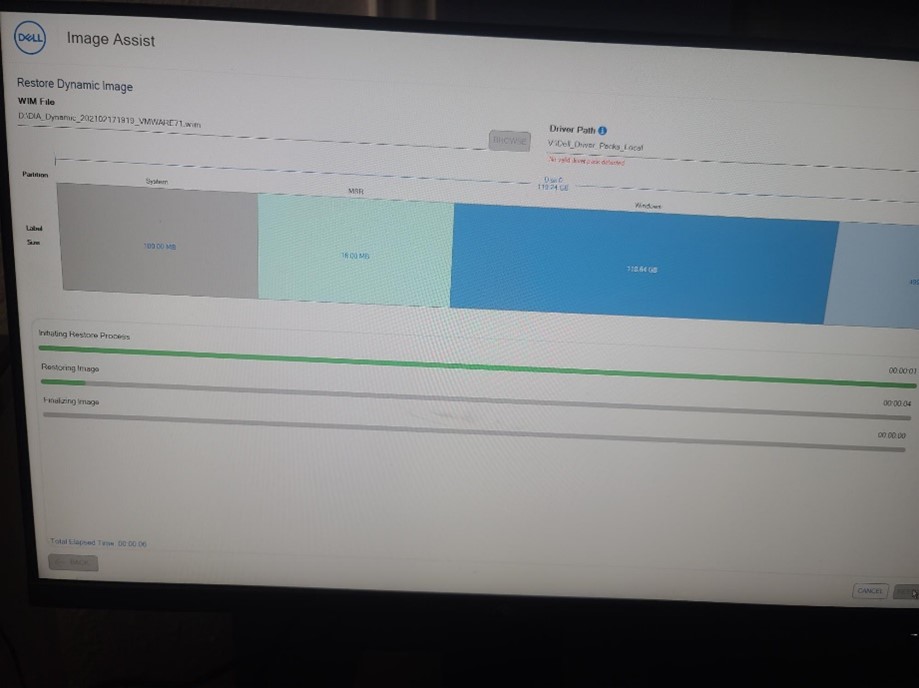
The restoration process will take about 30 minutes. You will see the progress bars changing from gray to green as it completes.
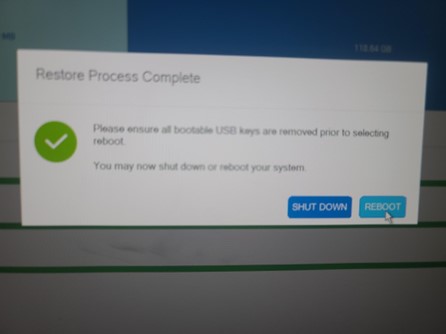
When this popup appears, you have finished imaging this computer. Remove the USB drive from the PC and click the Shut Down button. At this point you can move the pc to its permanent location and plug it into the network just as you would when you received it new from Dell and follow the documentation provided for the PC Rollout.
When all pc’s have been imaged, the USB flash drives are to be stored in the drawer of your network cabinet. In the event of an emergency, this is where we'll ask you to go get the USB flash drives. The USB flash drives are to remain in their anti-static envelope at all times until needed. If the USB flash drives are not stored where we expected them to be found, you will delay the support and recovery of your business.
0 Comments