
Office 365 users that require Visio can have access to the software only through the Office 365 subscription service. Due to conflicts between Office 365 software installers and transitional ISO installers, anyone using Office 365 can only have other software installed through the same subscription channel. See this article for more information.
Steps to follow:
- Reserve Visio Plan 2 license through your Licensing Administrator. The Licensing Admin must reserve the required licenses via the Microsoft Volume Licensing site. Available licenses will appear in the portal within a few hours, if not sooner.
- Within the Office 365 Administration site, go to the user with the requirement to add Visio to their Office 365 account and Edit their profile as follows:
- Click Edit at Product Licenses.
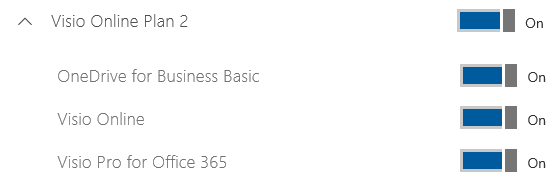
- Find Visio Online Plan 2 in the Product licenses list and flip the switch to ON. By default, all the respective switches switch on which is acceptable.
- Click Save to commit the changes.
Changes are usually immediately available. However, if it is not, have the user log out of the Office 365 portal on the web and re-login.
- Update the ticket with the appropriate instructions informing them how to access and install their software:
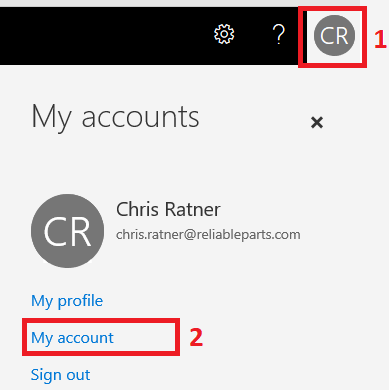
- Go to https://portal.office.com/account/ and log in with your RPI username and password. Alternatively, you can access your information from your initials in the top right corner of the page:
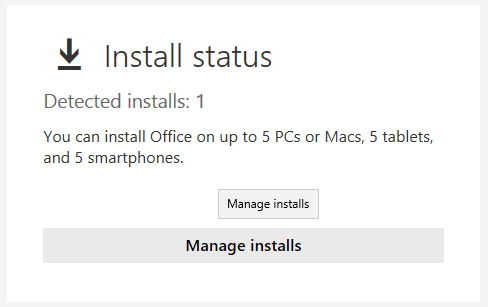
- Click Manage Installs button and you should find Visio in there.
- Click Install desktop application and in the menu to the right you should find one for Visio.
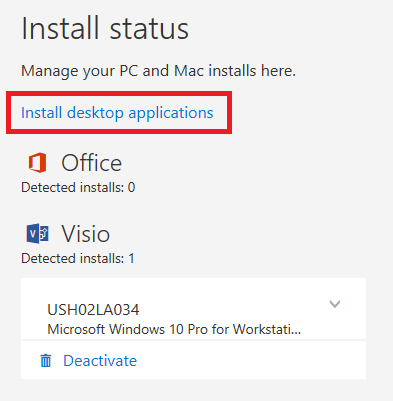
- Click Install and follow the on-screen instructions.
NOTE: Do not install the 64-bit version unless you know that you're running the 64-bit version of Office.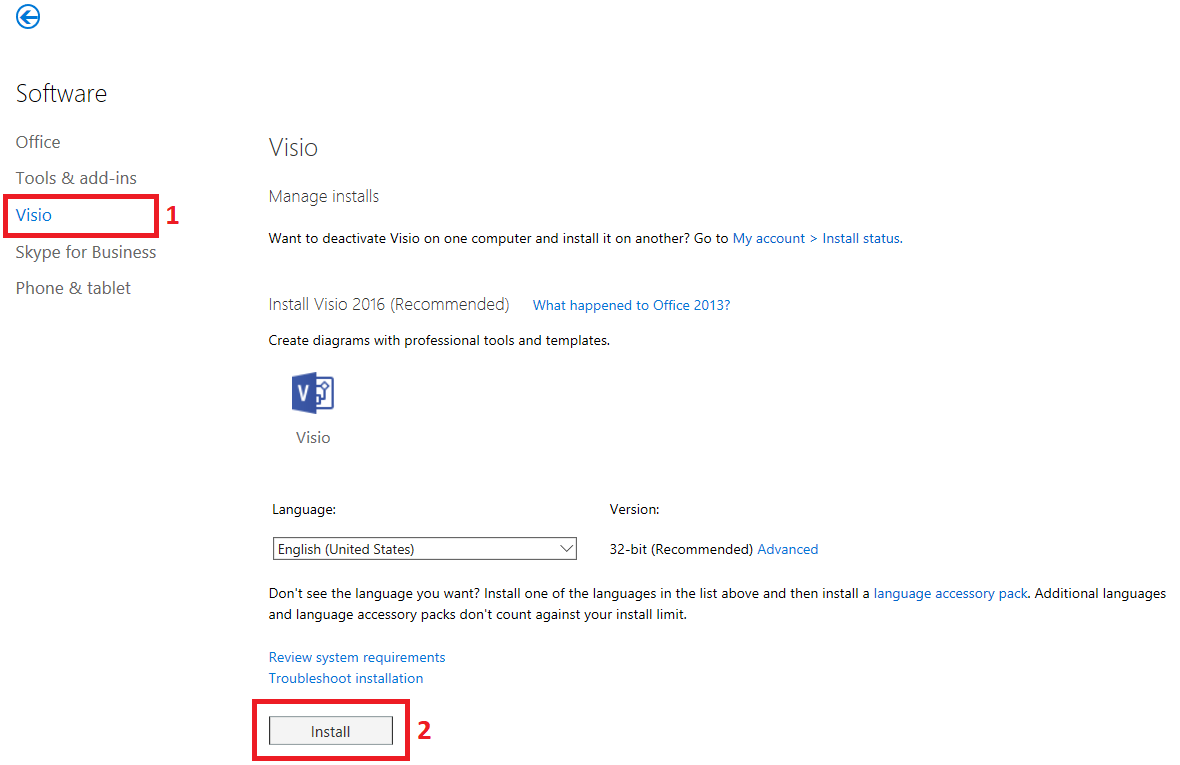
- Reboot your computer (do so regardless if instructed to do so).
- Go to https://portal.office.com/account/ and log in with your RPI username and password. Alternatively, you can access your information from your initials in the top right corner of the page:
0 Comments